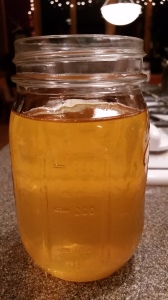
Ghee (also known as Clarified Butter) is an awesome addition to every kitchen!
Ghee is not only an extremely delicious oil to cook with but it’s also very healthy and has a high smoke point. One of the reasons for it’s health benefits is that – if made with grass-fed butter – it is loaded with Conjugated Linoleic Acid or CLA. To read more about CLA check out my other blog post HERE.
The one downfall of Ghee is that it is fairly expensive to buy a high quality grass-fed jar of Ghee at the store. For example, I recently noticed that an 8 oz jar of grass-fed ghee at a local health food store was around $12.00 or $1.50/oz. I’ve seen it much higher than that too!
That is why I recommend making it yourself. It’s really easy to do and costs a lot less! (I just made about 20 oz and it cost me just under $8.00 or $0.40/oz!!)
Here’s How To Make Your Own Ghee
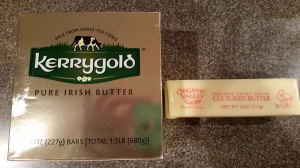
1) Start with High Quality Butter (very important to insure you are getting all the health benefits). I recommend either Kerry Gold Grass Fed or another Organic Pastured Butter. Most people recommend using unsalted butter but I have used both depending on what I could find. (1 pound of butter will make approximately 14 oz of Ghee)
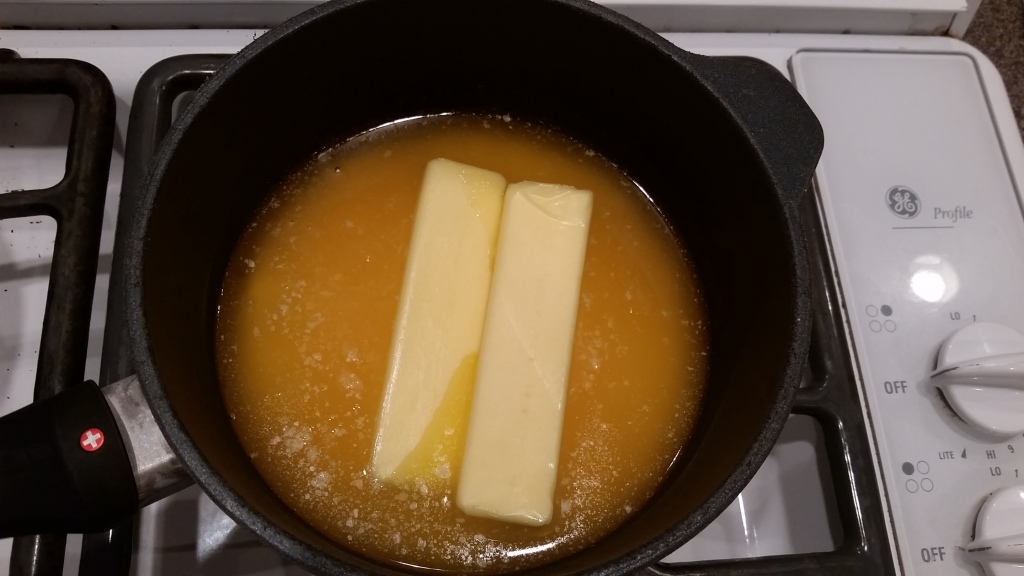
2) Slowly melt in a pan over medium heat.
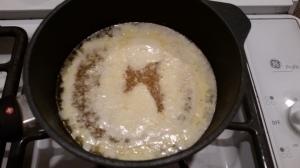
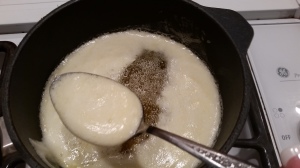
3) Once the butter melts and begins to bubble, lower heat slightly and continue to cook at a low simmer. There will be a layer of foam on the top. This is the milk protein beginning to separate from the oil. You may use a fine mesh or slotted spoon to skim the foam off the top if you want but it is not necessary. (I removed some for the picture but left the rest)
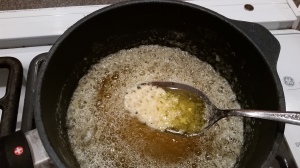
4) Continue simmering for about 20 – 25 min until the butter solids are completely separated. There will be a slight layer on top and light bits on the bottom of the pan.
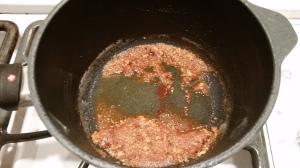
5) Turn heat up slightly and cook about 5 more minutes until it pretty much stops bubbling and the pieces at the bottom turn golden brown. Be very careful not to burn them.
6) Remove from heat. Skim off and discard top layer. (I don’t always skim it off and it seems to be just fine)
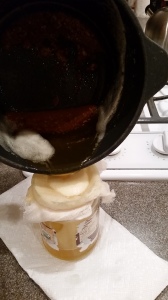
7) Once it cools down a bit, pour into a clean, dry glass container by straining through a very fine mesh strainer or a double layer of cheesecloth.
8) Discard solid pieces on the bottom of the pan.
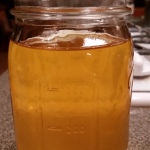
9) Store Ghee at room temperature or in the fridge if you prefer it to be more of a solid. (As long as the container is clean and dry, ghee has a very long shelf life even at room temp.)
10) ENJOY! Use your Ghee for cooking (great for high heat), as a spread on toast or butter on popcorn! I especially love it when making eggs because it adds a wonderful flavor and doesn’t brown when heated like regular butter does! I also use it (sometimes mixed with coconut oil) to make out of this world popcorn! 🙂
*Because the lactose and casein proteins are removed, it is tolerated by most people with dairy sensitivities. Yay!!
Make sure to share the love by re-posting and sharing this with those you think would be interested! Thanks 🙂
To Your Health!
Lisa Maghrak
P.S. Eating more healthy fats is a great way to help boost your metabolism! For more great tips, check out my video recording that explains 9 Power Tips for Boosting Your Metabolism, Reducing Body Fat and Increasing Your Energy Levels 100% Naturally!

